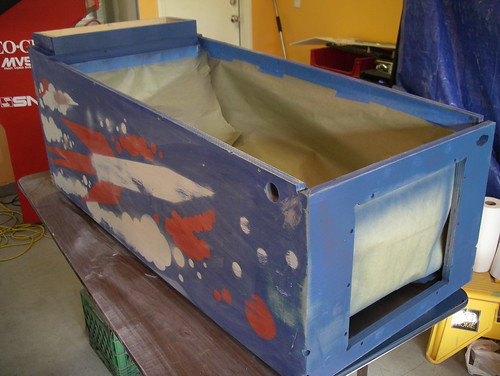
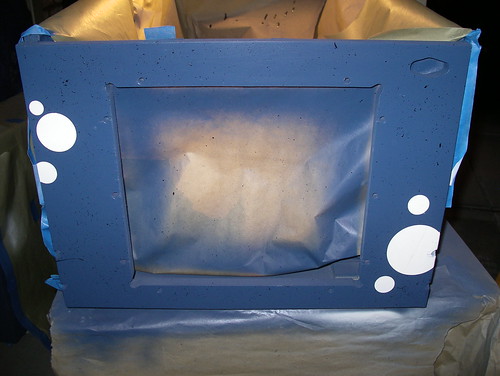
So here’s what I started with… a handful of erratic spraypaint additions and a repainted backbox surround.
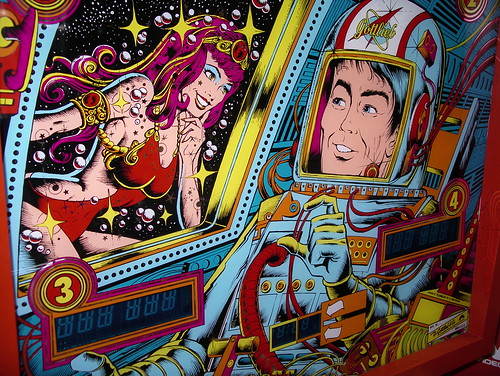
The original Count-Down stencil art is (in my opinion), the worst of all the Gottlieb System 1 games. A shame, as the playfield and backglass designs are some of the best from the era.
If you look at some of the better System 1 examples, you’ll see a much more skillful use of style and composition in the stencils. Thoughtful design, sharp and flowing edges, graphic design pieces that hold up as art on their own. Now compare those to Count-Down: rather than choosing lines carefully and pushing towards the iconic, the rocket was simply illustrated as a child would draw it (although I do like the coiling smoke of the liftoff), with cabinet front stenciling that did nothing to connect the pieces or bolster the overall theme.
So I said purists be damned, and drew up something new.
In the old days, back before the word hitchhiker became analogous to murderer, if you came across traveler with her thumb out while you were only driving a short distance, this is the gesture you’d give:
That gesture said, “hey there space babe, you’re welcome to come along, but I’m not going far,” giving your prospective hiker the chance to pass and wait out for a more beneficial riding opportunity. And in space babe terms, circling the Earth in a space station would certainly be considered short distance travel.
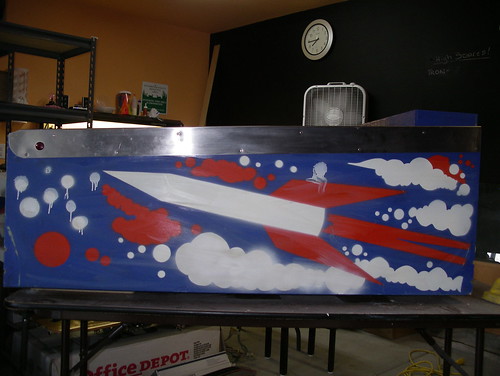
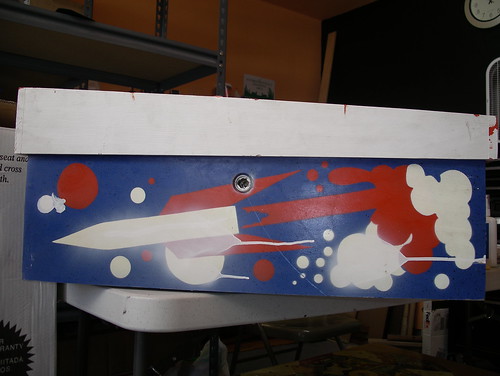
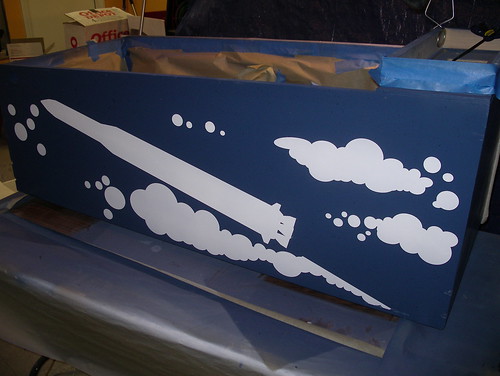
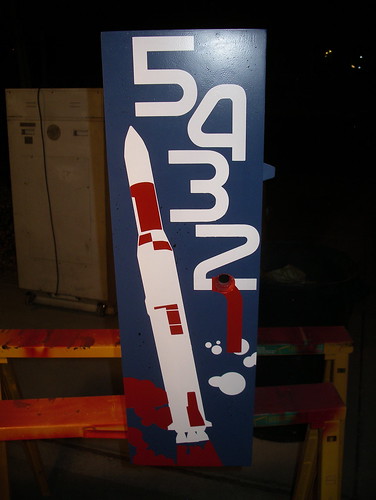
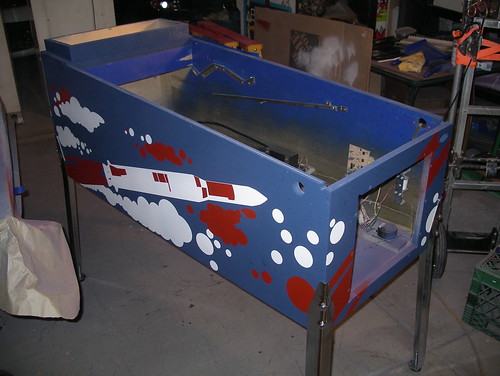
With that in mind, I themed the stencil redesign on the NASA space program of the 1970s, with a Saturn V rocket (carrying the Skylab payload), and a font based on the agency’s then-current worm logo. At the same time, I still wanted the cabinet to be recognizably Count-Down.
Here’s the final artwork, just before sending the Illustrator files off to Rich at ThisOldGame.com for reproduction.
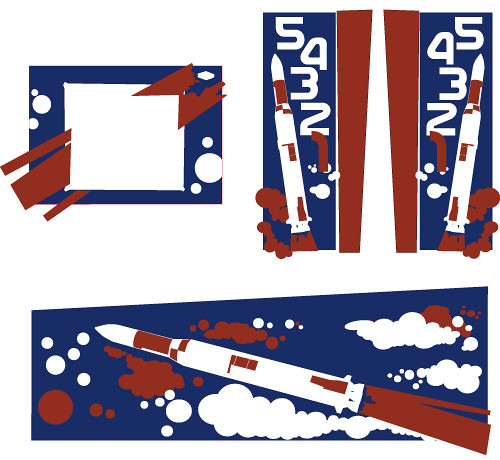
While the addition of the numbers meant that two sets of backbox stencils would have to be made (usually, stencils on one side simply mirror those on the other), I felt it was necessary to anchor the art to the game, and to help the backbox stand out as more than just a smaller version of the main cabinet design.
Here’s what I received in the mail a few weeks later:
Rich does fantastic work, his stencils are cut on heavy material, and his prices are very reasonable. For more on his reproduction process, be sure to check out his CoinOpSpace blog.
Now for the fun part.
Prep work, and repair of a few minor gouges in the wood. Sanding bondo is fun!
The white paint on the surround was latex, and stripped off fairly easily. Stripping paint actually is kinda fun.
When Gottlieb moved to simpler stencil designs with fewer colors in the 1960s, one of the side effects was that defects in the cabinet painting and wood were suddenly more noticeable. They worked around this by splattering black or silver paint over the base coats, breaking up large areas of color and helping to mask blemishes in the materials.
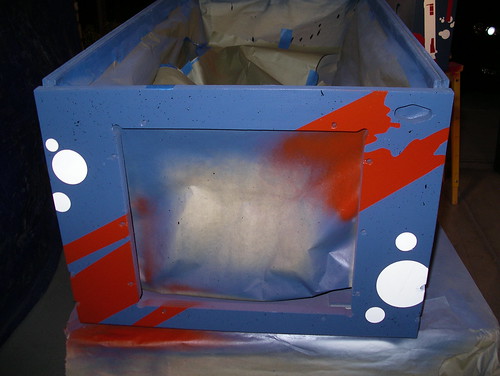
After applying the base coat of paint, I emulated the original webbing by running my thumb across a stiff plastic brush dipped in paint. Messy, and it took a bit of practice to get it right, but it worked.
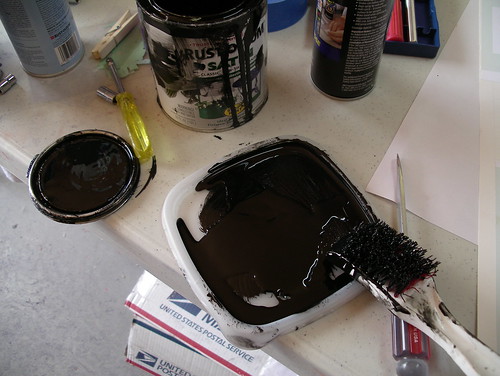
Painting the stencils was pretty nerve-wracking. There wasn’t a whole lot of room for error, and using two different brands of spraypaint for the two colors meant that each had entirely different coverage and behavior. I much prefer Rust-Oleum (Satin Paprika) over Krylon (Satin White and Satin Oxford Blue), but color matching was a higher priority than brand.
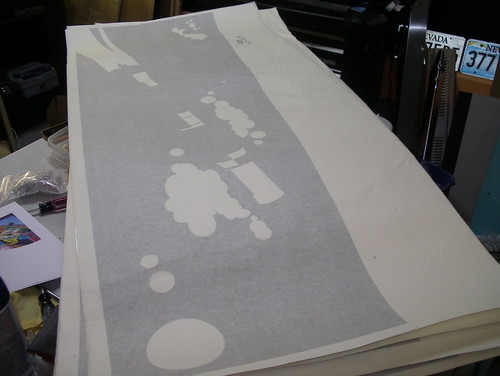
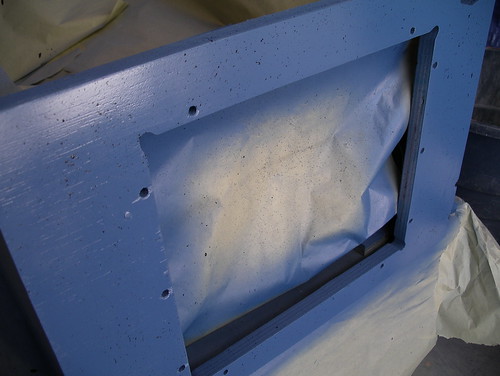
Each stencil comes in three pieces: coated paper protecting the adhesive, the vinyl stencil itself, and the stencil backing. For the large cabinet pieces, I clamped the stencil in place, peeled back a corner of the paper under the adhesive, and slowly worked my way across the the cabinet, scrubbing the stencil with a squeegee as I went. Once it was solidly adhered, the backing was carefully removed.
So far so good…
Side stencil number two…
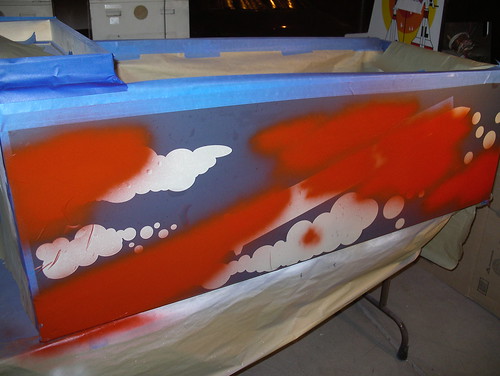
Aw crap. Accidentally lifted some paint when I removed a stencil, tried to touch it up by hand, made things worse, and took a break for the night to let the rest of the paint cure. The next day I cut a new bit of stencil from scraps, sanded and masked off the area, and resprayed.
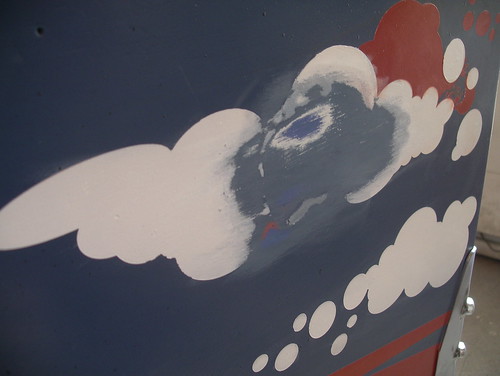
The repair turned out okay. Not perfect, but not immediately noticeable, either.

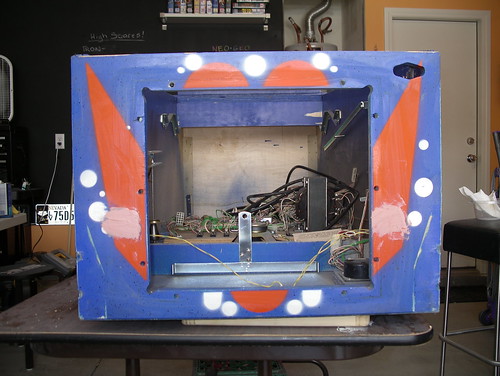
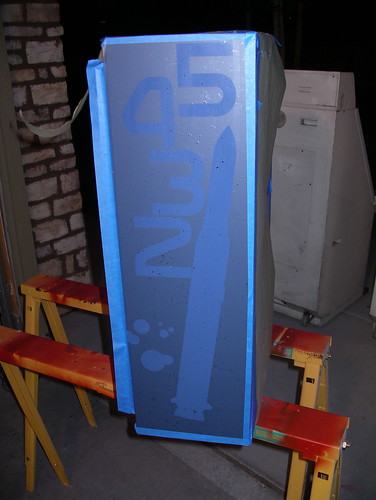
On to the backbox.

The cabinet front. Here I tried to tie in the idea of the rocket blast off to the player pulling back the plunger to launch a ball.
Whew, done! Time for a beer.
The next day: paint dried, legs polished and bolted on. The blank area above the art on the side is where the metal rails will go.
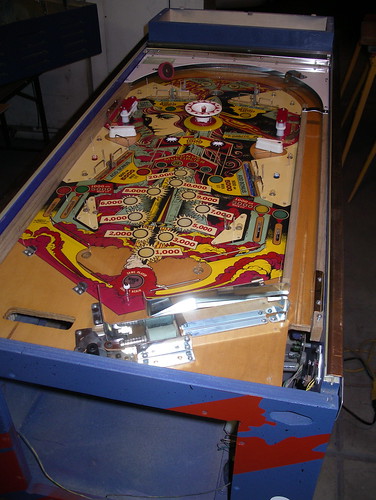
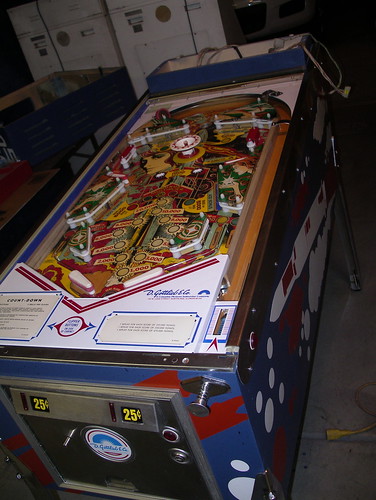
The partially assembled playfield, back where it belongs.
All plastics soaked and scrubbed, metal bits polished, rubbers and posts replaced, and a new coin door sticker applied.
Next: the final step. Electronics, and getting this thing up and running.