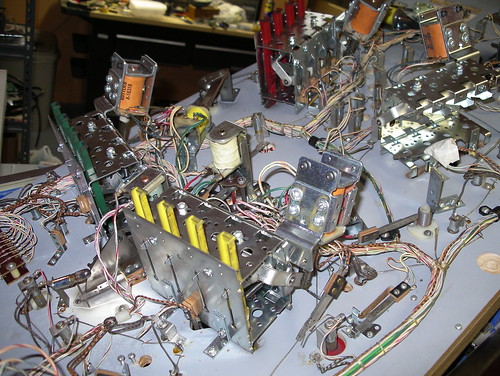
I mention this every time I write up one of these, but I can’t stress it enough… take lots of pictures! If your memory is as unreliable as mine, reference photos will save your ass when it comes to the putting everything back together stage.
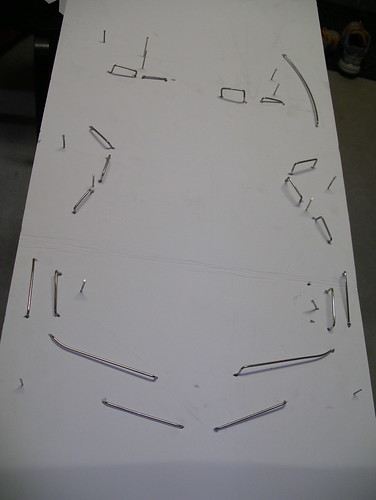
Another tip: Punch all of your rails and nails into a piece of cardboard. Even better than a reference photo.
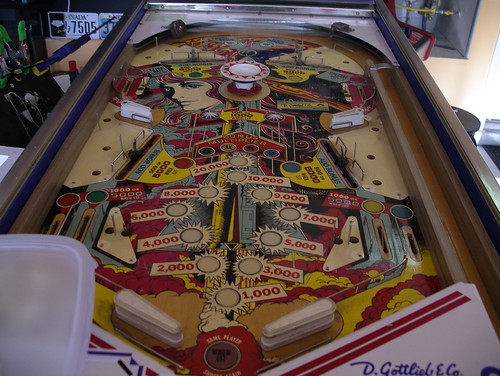
While the playfield plastics were mostly in decent shape, they were a bit warped. A hot afternoon in the sun pressed between sheets of glass (thanks Cyberball RIP!) flattened them out nicely.

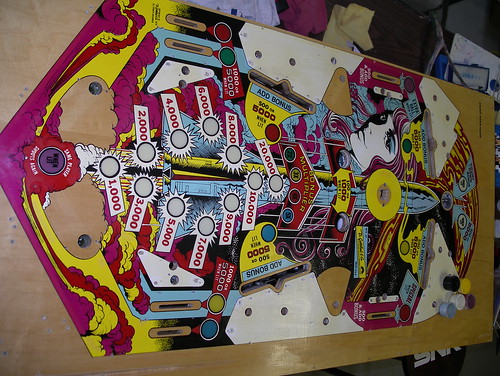
First step before touchups was to clean the hell out of the playfield. Tim Arnold recommended Turtle Wax Chrome Polish, which also came in handy for the actual chrome bits later on, and I followed that with Novus2 and Magic Eraser melamine foam (with alcohol rather than water) to pull up some of the heavy ball swirls in the paint. Be careful with the melamine foam, as too much pressure can quickly chew through your playfield.
I used water based figure paints because I’m a nerd and had some on hand, but I dunno if I’d go this route again. Coverage was sometimes a pain, and I had some minor color shifting after the clearcoat application.
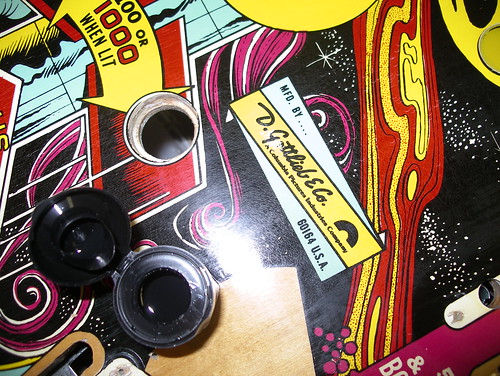
The above area, after touchups. The nosecone match was a bit off, but as I ended up repainting the entire cone, it looks fine assembled.
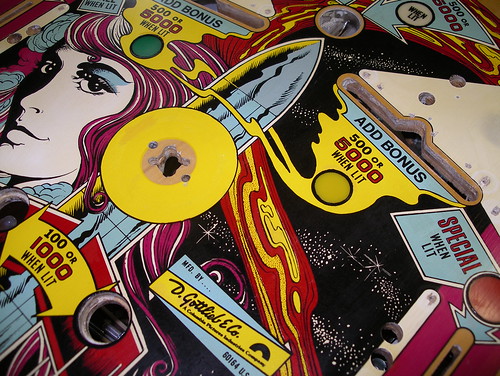
Touchup work is very delicate and time consuming, but the end results are worth it. Maybe. I mean, I love the way the playfield turned out, and thank God for podcasts to listen to in the background, but I spent many many hours hunkered over the thing. Something I’ll treasure for the rest of my life and all that, right?
Next step was clearcoating. Clay Harrell’s pinball restoration guide was a huge help here, and I recommend referencing it if you undertake a similar project. Between that and his repair guides, you could pretty much get from beginning to end with his articles as your sole source of information.
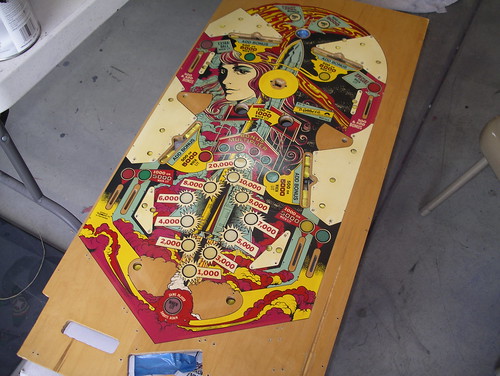
I used Varathane semi-gloss clearcoat, applied liberally with a day or two of drying time between applications. Once I had a couple coats down, I added a round of light sanding between each coat, taking care to not tear into the layer beneath. After a total of six coats, I let it cure for a couple weeks and then took a final pass with the high grit sandpaper.
The whole clearcoating process took about a month, but the actual time requirements each week were minimal. The important part is having someplace for the playfield to dry where it won’t attract dirt and contaminants.
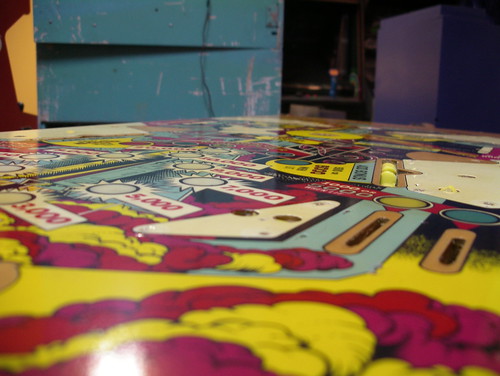
Shiny!
Next: restenciling the cabinet.
Had a couple folks ask about the yellow things in the holes… those are cheapo ear plugs (a few bucks for a box at Harbor Freight), they worked great for keeping the clear out of the light sockets and underside of the playfield.
what did you use to convert the 6vac lights on the playfield to LED lighting? i think that is a real nice touch.
Moving to LEDs is actually a really simple step… just a matter of plugging the replacement lights in!
You can buy them in both the bayonet and wedge style.. several online retailers sell em:
http://www.marcospecialties.com/storeitems.asp?cc=LAMP-LED
Hey Chris…..thanks for getting back to Rawdon re the artwork for Count Down. I paint the cabinets and in my opinion you should have worked for Gottlieb. Thanks for the permission to reproduce it. I contacted This Old Game, forward your email to them and we are in business, I will email some photos once completed in a month or so. Cheers Steve.
Great to hear, and thank you.. Looking forward to seeing the photos once it’s done!