Tag Archives: tron

Tron Restoration – Cabinet Misc

As I’d mentioned before, the doors that came along with the cabinet were thrashed. It was time test my (lack of) woodworking ability.

Remember the Ryobi jigsaw I’d purchased before? The internet was right, it really was crap. Crestfallen, I returned the thing to Home Depot and walked out with a shiny new DeWalt, which apparently the internet doesn’t really like either. Maybe the internet just hates jigsaws in general, because it worked out fine enough for me.

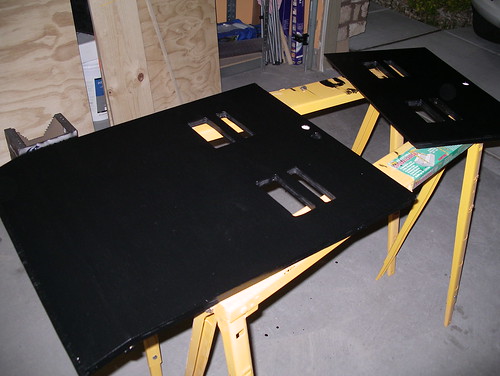
Using the originals as rough templates, I cut out a new upper and lower door, followed by screen vents and holes for a key-matched set of replacement locks.

Thankfully, bondo heals all wounds.

Doors take shape.

After a bit of sanding and painting (Rustoleum satin black)…

painted doors

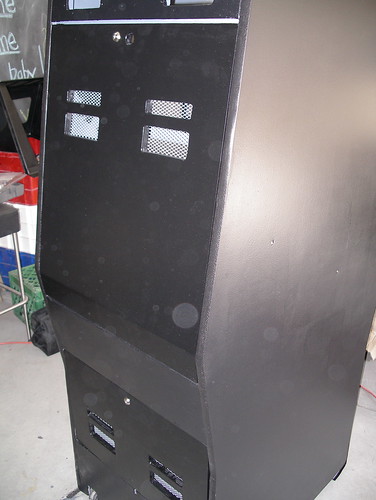
…and on the cabinet, with new locks and freshly painted screens:

new doors

Next up, transferring the guts.

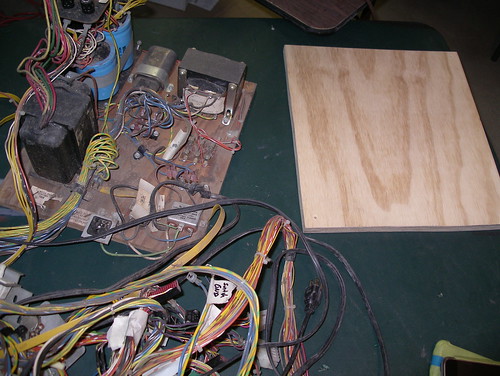
transferring Tron guts

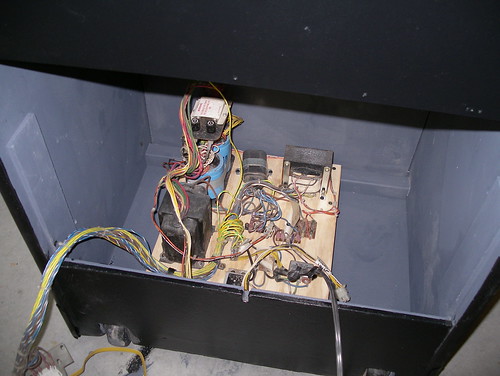
The old piece of plywood that everything was originally mounted on had seen better days, and as I had new plywood to spare, it was a simple process to cut a new piece and move everything over (after taking several photos just to be sure the right bits stayed connected to the right bits). Here’s the result, mounted in the cabinet:

mounted Tron guts

More parts. This thing is getting expensive.

  • From Arcade Shop, kickplate moulding and a spinner bushing
  • Bally/Midway coin door plate from ThisOldGame
  • Midway coin bucket from ebay
  • More Rustoleum satin black oil paint
  • 100 1980’s Chuck E Cheese tokens!

Tron Restoration – Shroud

Finally getting to the part of the restoration where things begin to look pretty.

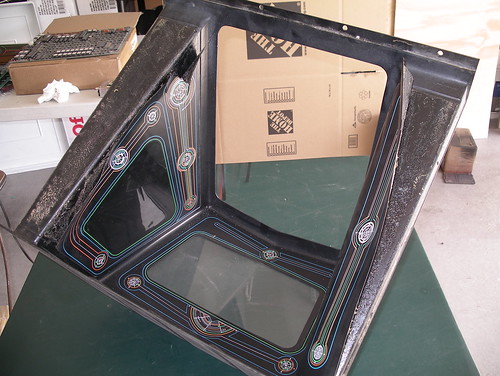
First up was the shroud. The original artwork was baked on, and as the piece is plastic, I was worried about using anything particularly caustic to help remove it. Instead, I went with a heat gun and a pair of heavy gloves, slowly pulling back the old art as the adhesive melted. That was the easy part.

Removing the shroud artwork

What remained was a whole load of gunk. I attacked it with Goof Off, an assortment of rags, and a plastic putty knife. I’d lay down a rag over an area, soak it with Goof Off, let it sit for a moment, remove the rag, and then scrape the area down with the putty knife, pulling up gobs of snot-like adhesive.

art removed from the shroud

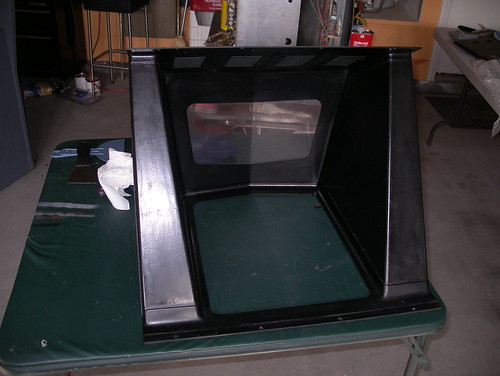
After maybe 45 minutes of that, followed by a good scrubbing with the soaked rags, I was left with this:

clean Tron shroud

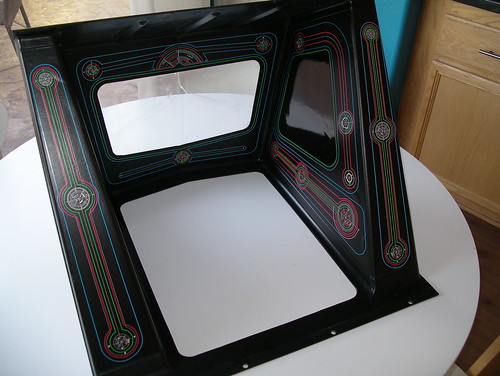
Applying the artwork was a fairly pleasant process. Using the leftover window film application spray (windex or water with a dash of dish soap works fine too), I’d spray an area of the shroud and lay down the art, repeating for each of the three pieces. While one could easily apply side art and a control panel overlay dry, the shroud is one area where I highly recommend a wet application. Lots of bends and thin pieces to screw up, and being able to slide around the art as needed helped a great deal.

The finished shroud:

Fancy new artwork

Tron Restoration – Primed

Bondo dust gets everywhere. Wear a mask when sanding it, and work in a well-ventilated area. Also, buy or borrow an electric sander; sanding isn’t fun in the first place, and doing everything by hand would take forever. You really don’t need a whole lot of power tools to restore a cabinet, but a sander is one of ’em.

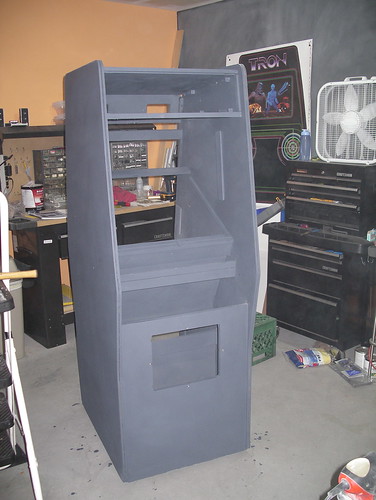
Here’s the cabinet with finished wood repairs and a coat of primer. I filled in a handful of holes and repaired the corners, working in layers until I got the shape and fill I desired. I was pretty proud of my bondo work, corners turned out fine and the holes were untraceable after the first coat of paint. Not too bad for my first time using the stuff.

Primed cabinet

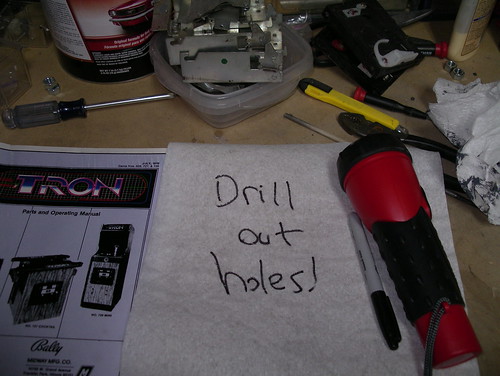
Here’s the note I wrote to myself as a reminder to drill out the four coin box bracket holes I’d just filled in and painted over. Sigh.

Sigh.

Restoring Tron – Repairing

First, a couple more Tron restoration links: Peter Hirschberg’s gallery, and another from BYOAC.

Lots of cabinet repair progress this week. While most of the woodwork is in decent shape, the back was pretty shot (lots of water runoff) and the floor had seen better days. Time to repair what I could, and replace whatever couldn’t be repaired.
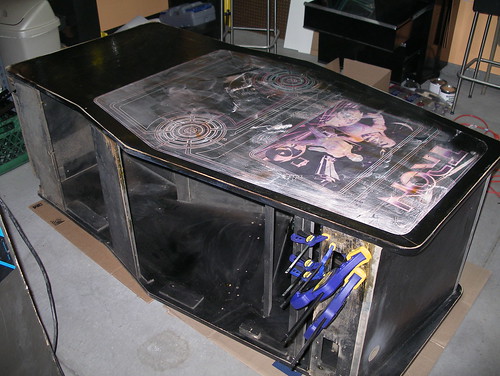
wood repair

The back doors are trashed, many orders worse than the rest of the cabinet. I’m guessing that the previous owners each swapped out door sets for their other Trons, leaving the worst of the lot for mine. I’ll be building new doors in a later episode.

And speaking of rebuilding new doors, I broke down and bought a Ryobi jigsaw. While I don’t loathe the thing as much as the Home Depot reviewers do, it does have some issues. The jigsaw feels rugged enough, but the actual construction could use some improvement. On first use, the laser sight was misaligned and blade angle wouldn’t stay positioned; breaking down the bottom base and aligning and tightening everything helped, but I still have problems cutting a perfect line. I figured it was my lack of skill, but with the universally bad reviews, I may end up exchanging this one for another brand.

Sideart removal was just as easy as it was with the control panel. Slathered on the Citristrip, went to bed, and scraped the next morning. As you can see in the image below, the end result is something like a giant glob of chewing gum. Wiping down the cabinet with Goof Off afterward removed the final remaining bits.
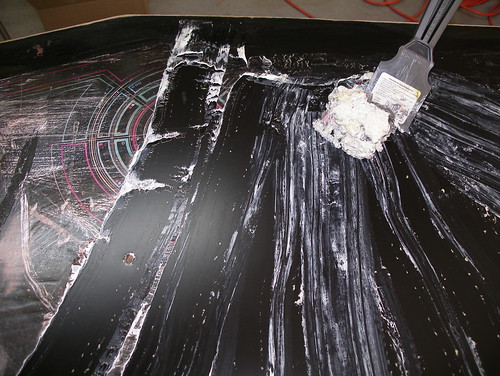
stripping sideart

The first complete piece! I’m impressed with the Phoenix Arcade reproductions, so far the quality is top notch. I tend to be pretty obsessive about proper alignment, so I went with the wet application method just in case things went a bit off-kilter. Happened to have a window film applicator kit handy, but windex or a squirt bottle with a dash of dishsoap added will also do the trick. Wet application is what you see window tinting guys do: spray the entire surface area lightly, then apply. This let me slide the artwork around a bit to get everything lined up just right along the main control panel area, then I wiped off the front and back lips and folded the rest of the artwork over. Finally, I ran over it a few times with the squeegee and clamped the edges to keep them down until the surface area was completely dry.
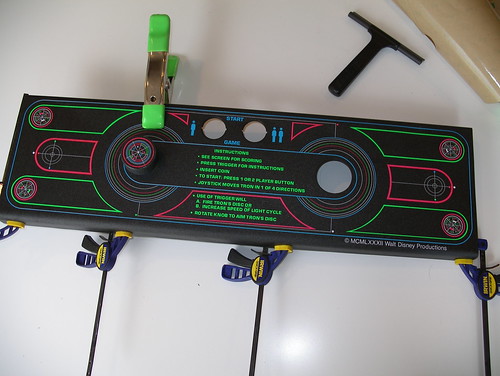
CPO!

Finally, priming and bracing the interior. I decided to retain the original bottom piece, but added braces for some extra strength. Additionally, the braces will serve as risers onto which I’ll mount the power supply board, bringing it up from the floor of the cabinet.
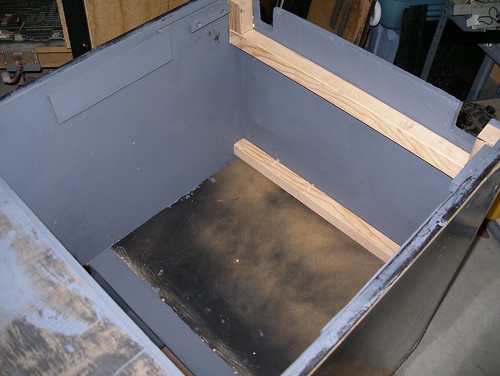
floor braces

The big Bob Roberts parts order came in:

  • used Midway Service Panel
  • 8 ohm 15 watt shielded 6X9 speaker x2
  • Set of 4 Black steel cabinet corner protectors
  • Video game leg levelers (4)
  • Video game leg leveler mounting plates
  • K4900 19″ color cap kit
  • Tron MCR 4″ SCSI cables
  • Tron/MCR Replacement Video Cable
  • Tron Lithium Battery Conversion Kit
  • Lock set keyed alike 641 (1)1 1/8″ & (2) 7/8″
  • cable clamp assortment bag of 25 each size (100 total)
  • cable clamp pan head screws 1/2in (100) black
  • .084 Plug & receptacle 3 position w pins & sockets
  • xcelite flushcutter
  • (and bonus, they sent along a free wire stripper for lagniappe!)

Next time: sanding, and then some more sanding!

Restoring TRON – Stripping!

The security bolts on the joystick were gummed up and rusted, so I had to carefully dremel out the nubs on each bolt, a tense affair as original TRON joysticks are not cheap. Luckily, everything else came apart without issue.

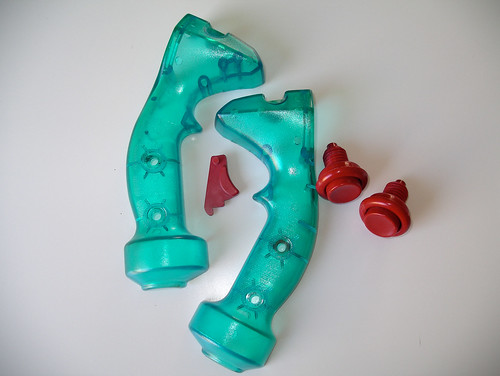
The control panel plastics cleaned up quite well. After soaking the handle, buttons, and spinner in a bucket of warm water and auto detergent for a couple hours, I scrubbed away the many many years of dirt and grime. Particularly notable was the wad of solidified gum that had to be scrapped off with a razor.

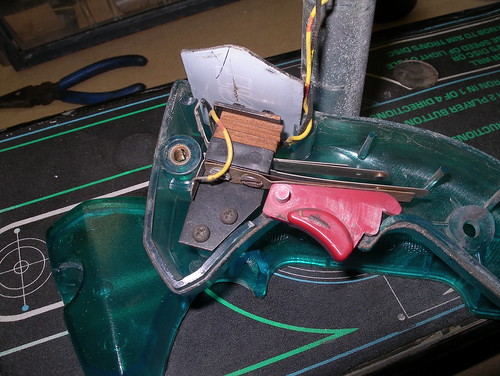
Here’s the before:
TRON trigger mechanism

And after a good solid cleanin’:
Cleaned controls

I highly recommend Citristrip for removing stubborn and baked on control panel overlays. It has a consistency of sludge, doesn’t reek like most solvents, and didn’t feel like it was going to immediately burn my hands off if I got some on me (still, wear gloves, it’s powerful stuff). After a liberal coating with a cheap paintbrush, I let the panel sit overnight. The next morning, the old CPO and paint slid right off. Followed that with a wipe down of Goof Off to remove the last bits of adhesive, and then sanded the panel and applied a coat of primer. Here’s the CP immediately after using the Citristrip:

Control Panel

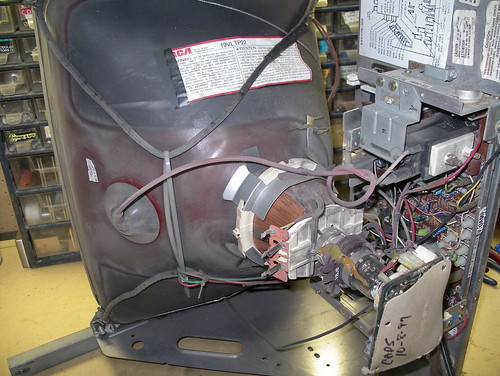
The monitor! A Well-Gardner K4900, it originally came out of a horizontal game, as there’s a slightly noticeable bit of burn-in, but not enough burn-in for me to identify the source. As the cardboard bit on the end of the neck states, someone replaced the caps in 1997, but I figure it’s a good idea to replace them now again anyway while I’ve got the monitor out of the cabinet.

Monitor

An arcade cabinet is deceptively simple. It’s like a big model, really. As long as you can get ahold of a parts list and schematics, you can put one of these together. Still, label everything. If you’re not sure, label it. Or even if you are sure, label it.

stripping.

Parts order update:

  • Phoenix Arcade reproduction TRON art
    (inner art, marquee, shroud art, CPO, spinner decal, and joystick insert)
  • CP and joystick assembly nuts ‘n bolts kit (thanks for the lead, Jeff!)
  • 18inch fluorescent light fixture for upper rear cabinet
  • starters for the 3 original fixtures
  • Various sundries for stripping, painting, and repair
    (Bondo, putty knives, satin black spraypaint for metal bits, etc)

The next parts update will be the big one, as I’m preparing to write up orders from Bob Roberts and Arcadeshop now.