Finally getting to the part of the restoration where things begin to look pretty.
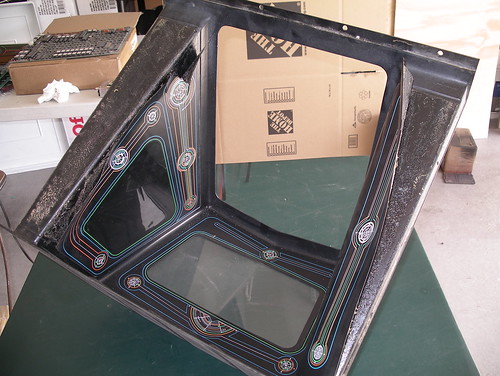
First up was the shroud. The original artwork was baked on, and as the piece is plastic, I was worried about using anything particularly caustic to help remove it. Instead, I went with a heat gun and a pair of heavy gloves, slowly pulling back the old art as the adhesive melted. That was the easy part.

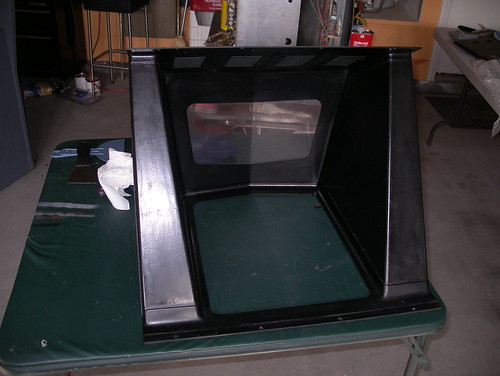
What remained was a whole load of gunk. I attacked it with Goof Off, an assortment of rags, and a plastic putty knife. I’d lay down a rag over an area, soak it with Goof Off, let it sit for a moment, remove the rag, and then scrape the area down with the putty knife, pulling up gobs of snot-like adhesive.

After maybe 45 minutes of that, followed by a good scrubbing with the soaked rags, I was left with this:

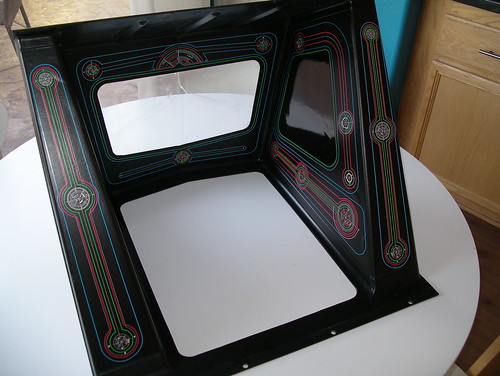
Applying the artwork was a fairly pleasant process. Using the leftover window film application spray (windex or water with a dash of dish soap works fine too), I’d spray an area of the shroud and lay down the art, repeating for each of the three pieces. While one could easily apply side art and a control panel overlay dry, the shroud is one area where I highly recommend a wet application. Lots of bends and thin pieces to screw up, and being able to slide around the art as needed helped a great deal.
The finished shroud:
