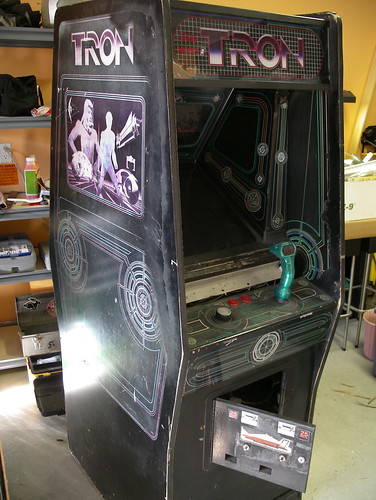
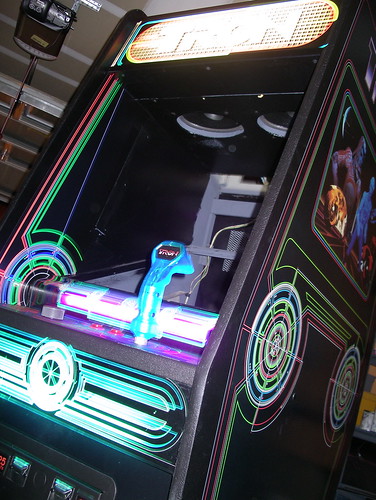
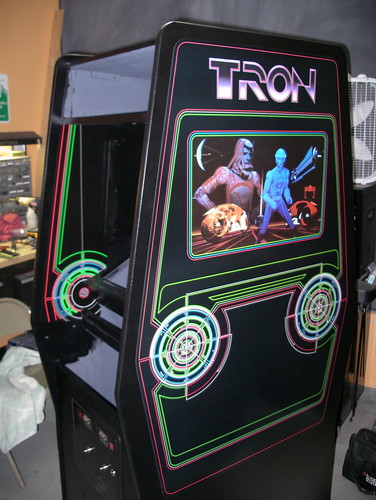
Side art application was similar to the previous pieces, just a whole lot bigger and a little bit scarier. The inner art required a bit more work, as it’s not cut by the printer, so I had to trim it to fit around the shape of the cabinet structure. Some restorers will build paper templates for this part and then cut the artwork before placement, but I eyeballed it and carefully trimmed as I went.
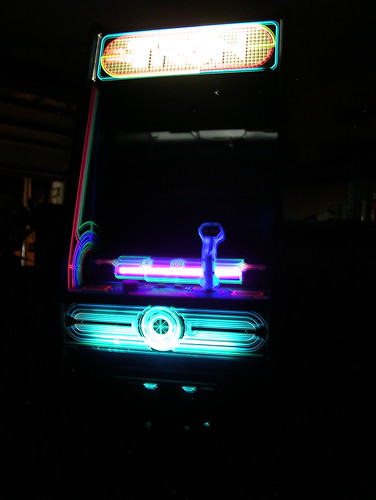
Next I stripped down and cleaned up the light fixtures, painted the reflectors white, and replaced the starters. Note the yellow zipties I used with the wiring. I didn’t realize until later that they fluoresce, brightly. There’s also a shot of the new power cable and plug I wired up, as the original had exposed wires in several places. Glad I didn’t figure that out the hard way back before this project started.

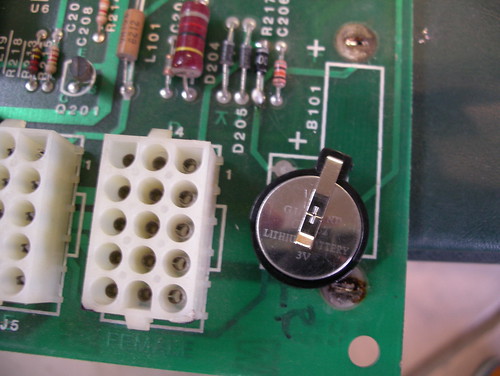
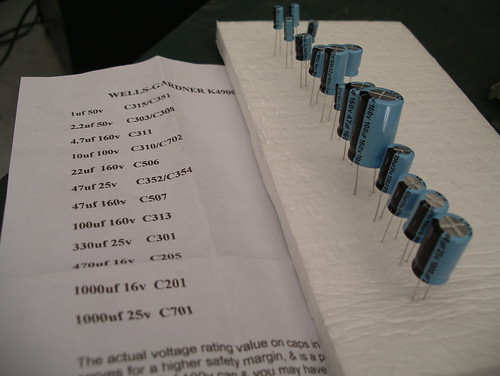
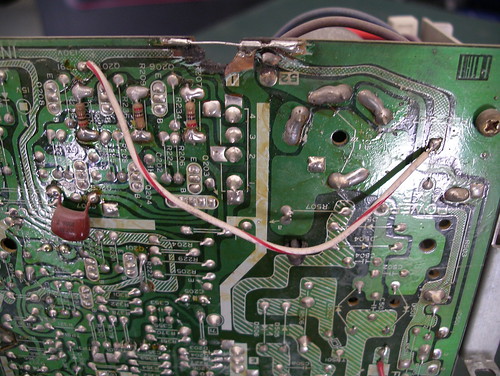
I also replaced the ni-cad battery on the power supply board. These batteries were put in place to retain high scores while the cabinet was powered off, a nice feature, but the particular battery choice was shortsighted on the part of the hardware designers. After a number of years, the ni-cad batteries often go bad, and when they do, they have a tendency to take the board out with ’em, leaking acid and corroding the pcb in the process.
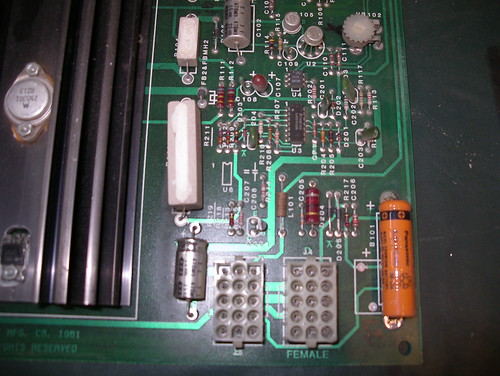
Lithium battery conversion kits sell for a few bucks, and the soldering requirements are very basic (read the last two paragraphs here), so if you’ve got a Tron power supply board with its original battery, swap that thing out.