As I’d mentioned before, the doors that came along with the cabinet were thrashed. It was time test my (lack of) woodworking ability.
Remember the Ryobi jigsaw I’d purchased before? The internet was right, it really was crap. Crestfallen, I returned the thing to Home Depot and walked out with a shiny new DeWalt, which apparently the internet doesn’t really like either. Maybe the internet just hates jigsaws in general, because it worked out fine enough for me.
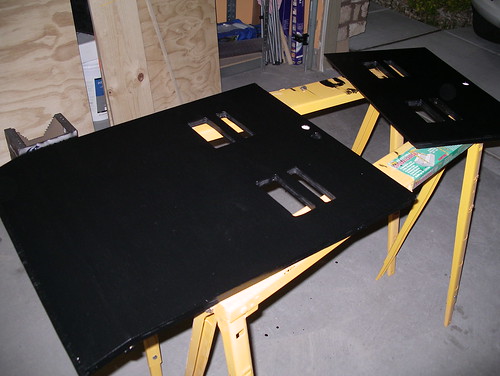
Using the originals as rough templates, I cut out a new upper and lower door, followed by screen vents and holes for a key-matched set of replacement locks.
Thankfully, bondo heals all wounds.

After a bit of sanding and painting (Rustoleum satin black)…

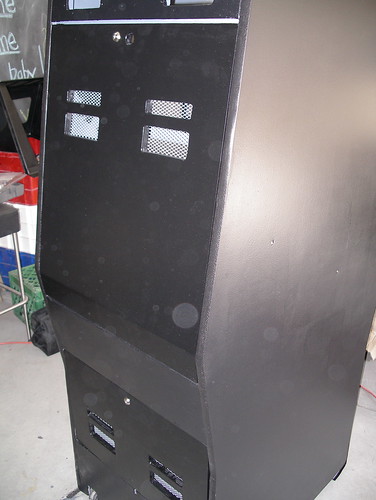
…and on the cabinet, with new locks and freshly painted screens:

Next up, transferring the guts.

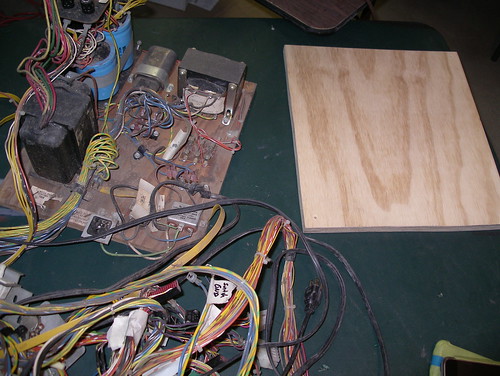
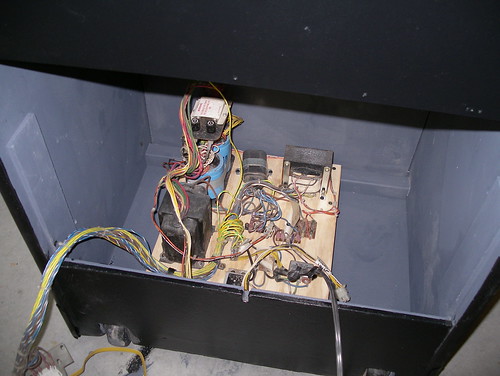
The old piece of plywood that everything was originally mounted on had seen better days, and as I had new plywood to spare, it was a simple process to cut a new piece and move everything over (after taking several photos just to be sure the right bits stayed connected to the right bits). Here’s the result, mounted in the cabinet:

More parts. This thing is getting expensive.
- From Arcade Shop, kickplate moulding and a spinner bushing
- Bally/Midway coin door plate from ThisOldGame
- Midway coin bucket from ebay
- More Rustoleum satin black oil paint
- 100 1980’s Chuck E Cheese tokens!