Category Archives: restoration

Liberty Belle in Las Vegas

The Liberty Belle B-17 bomber is at the North Las Vegas Airport this weekend:

There’s no need for a time machine this weekend – just make your way to the North Las Vegas Airport and you’ll set yourself back about 60 years.

The B-17 Bomber, named “Liberty Bell,” is visiting Las Vegas for the weekend and giving valley residents a unique opportunity to physically touch and see an airplane once used for combat during World War II.

There were originally 12,000 of these airplanes, but now only 14 remain.

Tour flights will be held this weekend – however, they will cost you $438 for a 30-minute flight.

The flights are pricey, so the crew does allow spectators to walk inside the grounded airplane before the first and after the last flight of the day for free of charge.

Saw her sitting on the runway this morning as we drove out towards Nellis to load up the arcade cabinets. Beautiful airplane, hopefully I’ll have time to go by before they fly out.
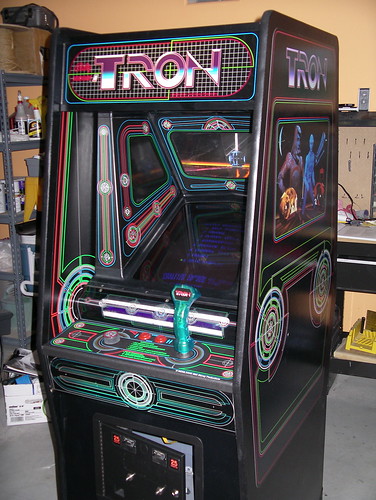
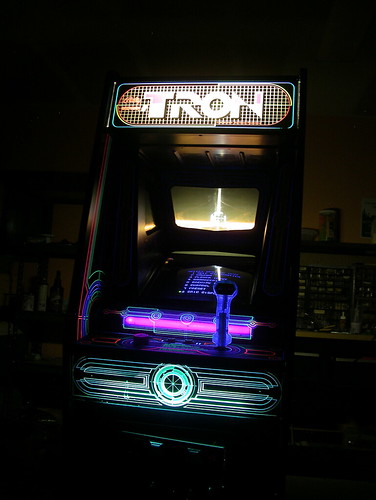
Restoring Tron – Fin.

I’m done. Done done done.

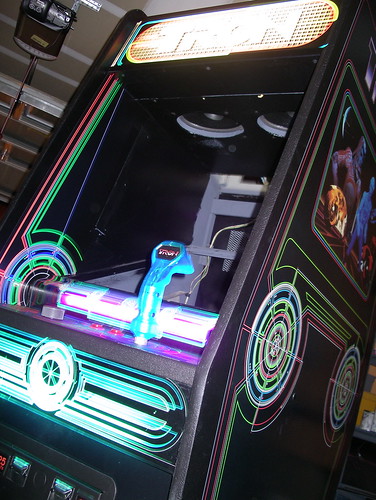
Restored Tron

Okay, there are still a few things I plan to do, like add lights to the coin door inserts and replace the coin mechs for token use, but Tron is basically complete.

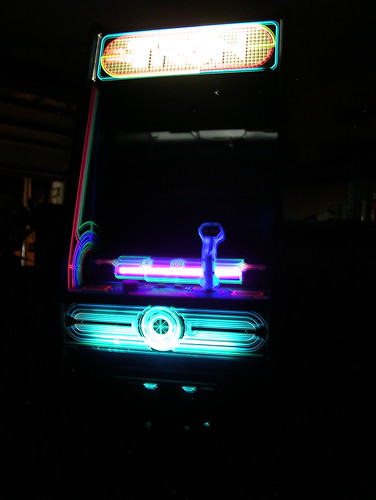
Restored Tron, lit

And for comparison purposes, here’s the cabinet back in the beginning of August:

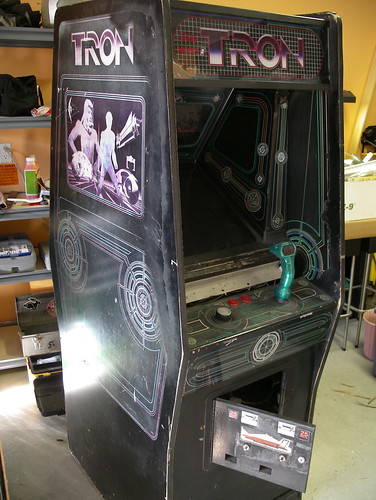
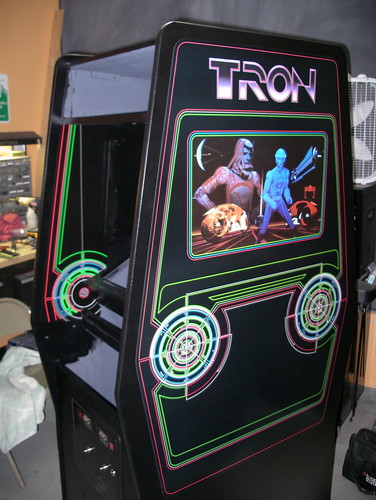
Original Tron

For the full restoration from the beginning, start here.

Time to clean up the garage, enjoy the last couple weeks of vacation, and figure out what my next project cab is gonna be (I dunno if I have the constitution to dig into Cyberball just yet).

Restoring Tron – Capping the Monitor

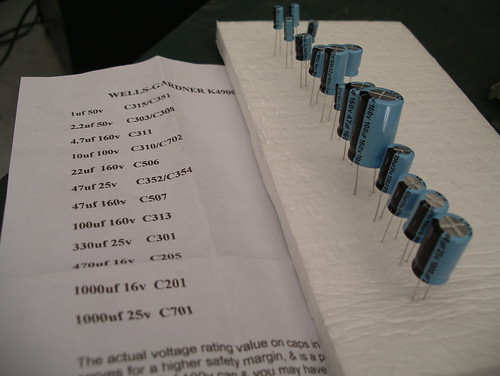
Replacing the capacitors on the Wells 4900 was fairly easy, and actually kinda fun. It was my first experience soldering on a board, but I managed to complete the capping without issue, thanks in no small part to a couple instructional videos on Youtube. Thank you, Internet, I really do love you.

 =4900 Cap kit

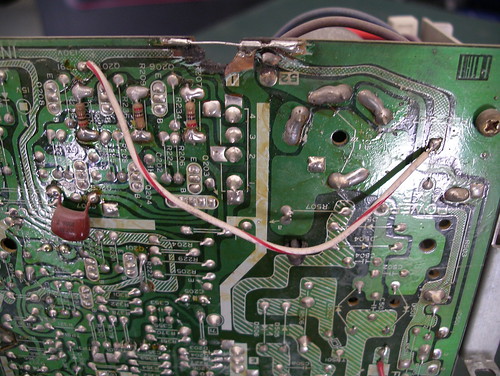
These boards can take some abuse. Check out this creative bit of repair by a previous owner:

creative monitor board repair

I covered that exposed bit of wire near the top with electrical tape and let it be. Everything works fine for now, but I’m waiting for it to explode violently or something. Some day I’ll replace it just for the peace of mind.

Restoring Tron – Side Art

Side art application was similar to the previous pieces, just a whole lot bigger and a little bit scarier. The inner art required a bit more work, as it’s not cut by the printer, so I had to trim it to fit around the shape of the cabinet structure. Some restorers will build paper templates for this part and then cut the artwork before placement, but I eyeballed it and carefully trimmed as I went.

Tron restoration side art

Next I stripped down and cleaned up the light fixtures, painted the reflectors white, and replaced the starters. Note the yellow zipties I used with the wiring. I didn’t realize until later that they fluoresce, brightly. There’s also a shot of the new power cable and plug I wired up, as the original had exposed wires in several places. Glad I didn’t figure that out the hard way back before this project started.

Tron light fixtures

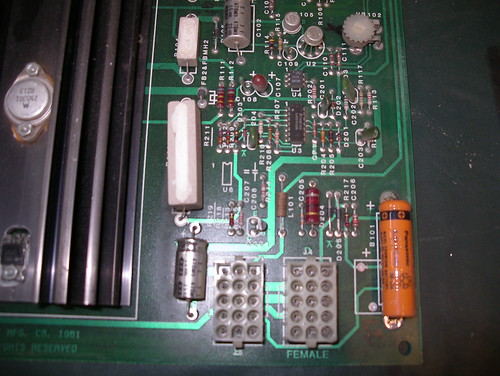
I also replaced the ni-cad battery on the power supply board. These batteries were put in place to retain high scores while the cabinet was powered off, a nice feature, but the particular battery choice was shortsighted on the part of the hardware designers. After a number of years, the ni-cad batteries often go bad, and when they do, they have a tendency to take the board out with ’em, leaking acid and corroding the pcb in the process.

Bad battery, bad.

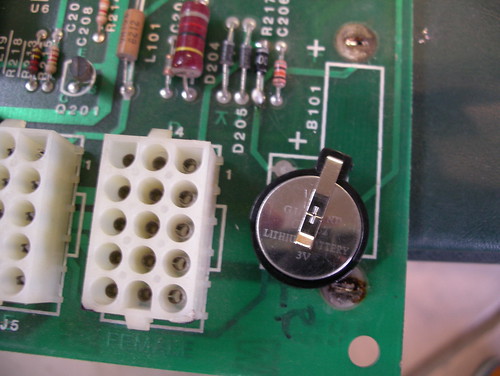
Lithium battery conversion kits sell for a few bucks, and the soldering requirements are very basic (read the last two paragraphs here), so if you’ve got a Tron power supply board with its original battery, swap that thing out.

New battery, good.