Monthly Archives: September 2008

Restoring Tron – Capping the Monitor

Replacing the capacitors on the Wells 4900 was fairly easy, and actually kinda fun. It was my first experience soldering on a board, but I managed to complete the capping without issue, thanks in no small part to a couple instructional videos on Youtube. Thank you, Internet, I really do love you.

 =4900 Cap kit

These boards can take some abuse. Check out this creative bit of repair by a previous owner:

creative monitor board repair

I covered that exposed bit of wire near the top with electrical tape and let it be. Everything works fine for now, but I’m waiting for it to explode violently or something. Some day I’ll replace it just for the peace of mind.

Restoring Tron – Side Art

Side art application was similar to the previous pieces, just a whole lot bigger and a little bit scarier. The inner art required a bit more work, as it’s not cut by the printer, so I had to trim it to fit around the shape of the cabinet structure. Some restorers will build paper templates for this part and then cut the artwork before placement, but I eyeballed it and carefully trimmed as I went.

Tron restoration side art

Next I stripped down and cleaned up the light fixtures, painted the reflectors white, and replaced the starters. Note the yellow zipties I used with the wiring. I didn’t realize until later that they fluoresce, brightly. There’s also a shot of the new power cable and plug I wired up, as the original had exposed wires in several places. Glad I didn’t figure that out the hard way back before this project started.

Tron light fixtures

I also replaced the ni-cad battery on the power supply board. These batteries were put in place to retain high scores while the cabinet was powered off, a nice feature, but the particular battery choice was shortsighted on the part of the hardware designers. After a number of years, the ni-cad batteries often go bad, and when they do, they have a tendency to take the board out with ’em, leaking acid and corroding the pcb in the process.

Bad battery, bad.

Lithium battery conversion kits sell for a few bucks, and the soldering requirements are very basic (read the last two paragraphs here), so if you’ve got a Tron power supply board with its original battery, swap that thing out.

New battery, good.

Tron Restoration – Cabinet Misc

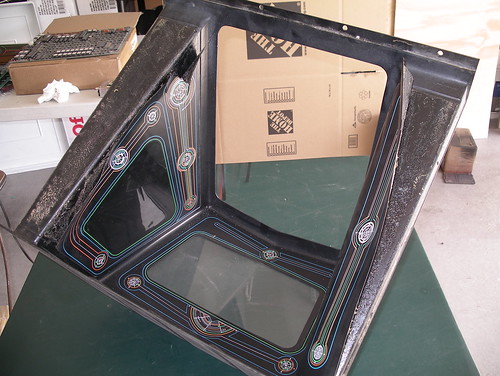
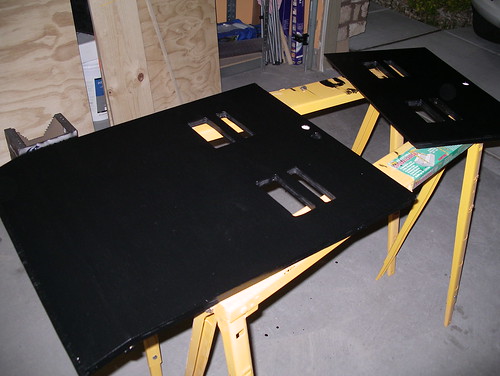
As I’d mentioned before, the doors that came along with the cabinet were thrashed. It was time test my (lack of) woodworking ability.

Remember the Ryobi jigsaw I’d purchased before? The internet was right, it really was crap. Crestfallen, I returned the thing to Home Depot and walked out with a shiny new DeWalt, which apparently the internet doesn’t really like either. Maybe the internet just hates jigsaws in general, because it worked out fine enough for me.

Using the originals as rough templates, I cut out a new upper and lower door, followed by screen vents and holes for a key-matched set of replacement locks.

Thankfully, bondo heals all wounds.

Doors take shape.

After a bit of sanding and painting (Rustoleum satin black)…

painted doors

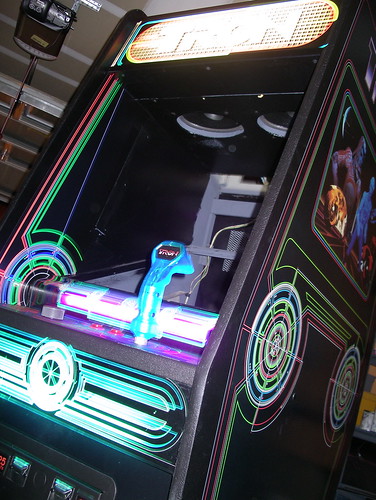
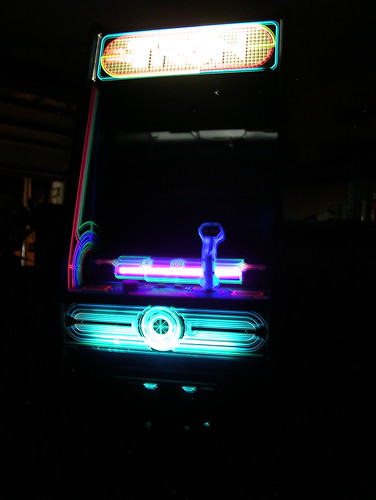
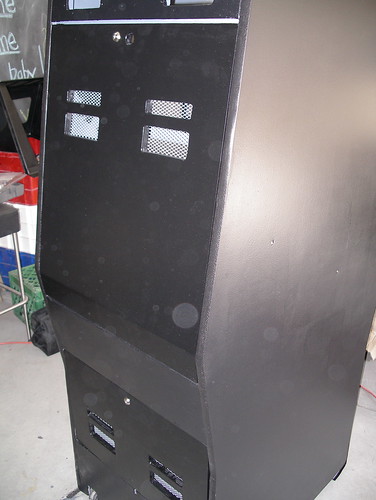
…and on the cabinet, with new locks and freshly painted screens:

new doors

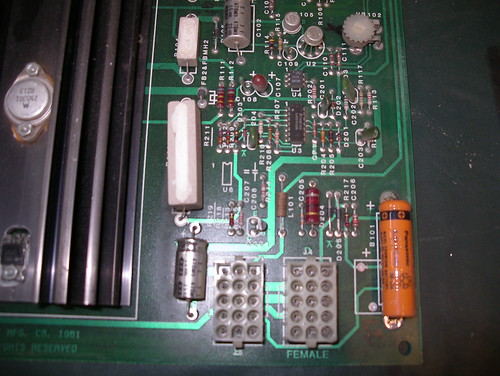
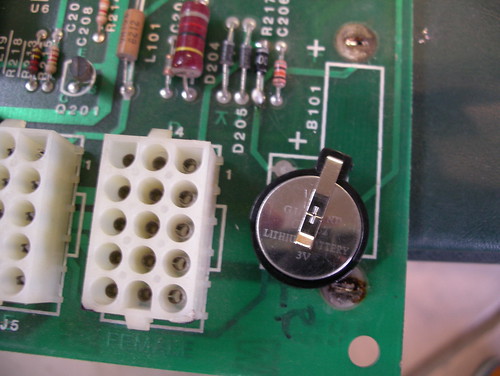
Next up, transferring the guts.

transferring Tron guts

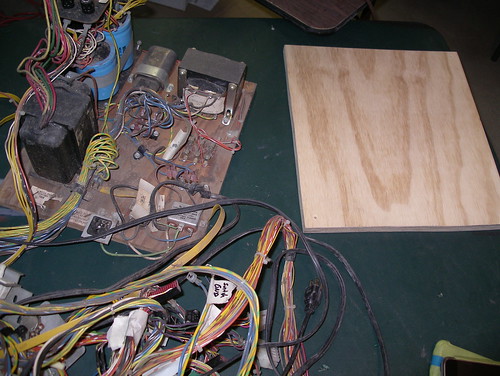
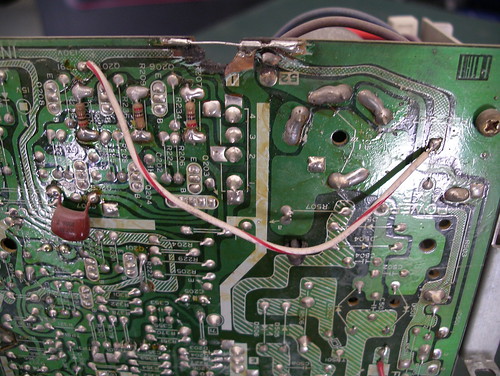
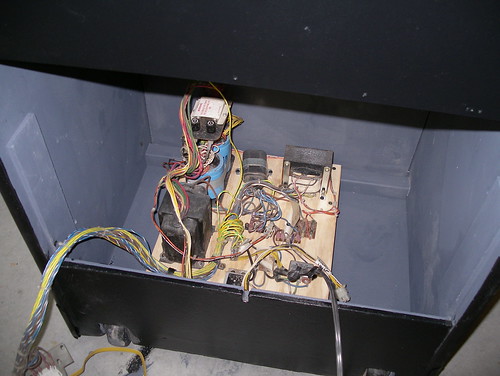
The old piece of plywood that everything was originally mounted on had seen better days, and as I had new plywood to spare, it was a simple process to cut a new piece and move everything over (after taking several photos just to be sure the right bits stayed connected to the right bits). Here’s the result, mounted in the cabinet:

mounted Tron guts

More parts. This thing is getting expensive.

  • From Arcade Shop, kickplate moulding and a spinner bushing
  • Bally/Midway coin door plate from ThisOldGame
  • Midway coin bucket from ebay
  • More Rustoleum satin black oil paint
  • 100 1980’s Chuck E Cheese tokens!

Tron Restoration – Shroud

Finally getting to the part of the restoration where things begin to look pretty.

First up was the shroud. The original artwork was baked on, and as the piece is plastic, I was worried about using anything particularly caustic to help remove it. Instead, I went with a heat gun and a pair of heavy gloves, slowly pulling back the old art as the adhesive melted. That was the easy part.

Removing the shroud artwork

What remained was a whole load of gunk. I attacked it with Goof Off, an assortment of rags, and a plastic putty knife. I’d lay down a rag over an area, soak it with Goof Off, let it sit for a moment, remove the rag, and then scrape the area down with the putty knife, pulling up gobs of snot-like adhesive.

art removed from the shroud

After maybe 45 minutes of that, followed by a good scrubbing with the soaked rags, I was left with this:

clean Tron shroud

Applying the artwork was a fairly pleasant process. Using the leftover window film application spray (windex or water with a dash of dish soap works fine too), I’d spray an area of the shroud and lay down the art, repeating for each of the three pieces. While one could easily apply side art and a control panel overlay dry, the shroud is one area where I highly recommend a wet application. Lots of bends and thin pieces to screw up, and being able to slide around the art as needed helped a great deal.

The finished shroud:

Fancy new artwork