I like the Oral-B Pulsar, it’s a fine enough toothbrush, but half the time the battery runs dead well before the bristles are worn. Rather than using bristle wear as an indicator, I’m sure most folks just toss the brush as soon as the battery is dead and move on to a new one. Throw in the occasional dud battery that only lasts a week or two and brushing your teeth with a Pulsar can end up costing more than a Netflix subscription.
That’s annoying and expensive, and while moving to a new type of toothbrush may be the more practical answer, it’s not nearly as fun.
The internet says that a toothbrush should be replaced every three months, assuming you don’t go to town on your teeth and destroy the bristles early. That’s way longer than a typical Pulsar battery lasts, so what we want to do is replace the battery inside with a rechargeable that’ll last much longer.
First, you’ll need to crack open the toothbrush. While the lower half of the brush does screw off, it’s glued on with an adhesive, so tools will help here.

Once the adhesive is popped, the cap will twist right off.

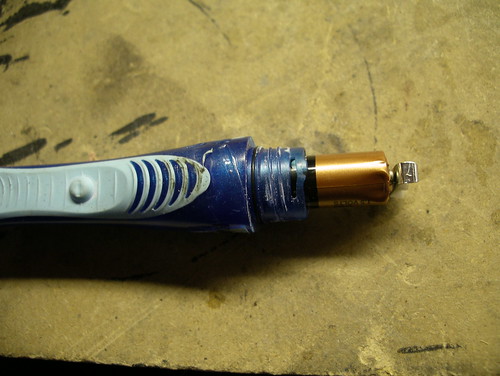
Carefully bend back the metal prong, and remove the (ahah!) AAA battery.

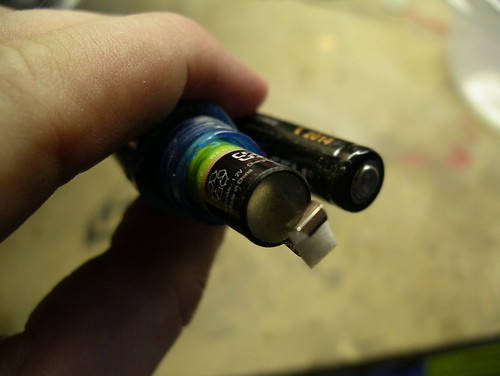
The Pulsar battery is a somewhat funky Duracell, with a protruding bump on the negative end. My replacement battery (a rechargeable Hybrio, go with those or a Sanyo Eneloop) is completely flat and wouldn’t always make contact with the inner terminal, so I recommend flipping the orientation and tossing in your replacement battery positive side first. Note the shape difference:

The on/off mechanism in the Pulsar is very basic: the Off button simply pushes a bit of plastic between a split inner terminal, breaking the circuit. The problem here is that the pressure on the terminals needs to be just right, too much and the toothbrush won’t ever turn off, too light and it won’t turn on. I experimented with adding washers and tweaking the prong, but the most successful method ending up being the simplest.
Discard the bit of foam at the top of the prong and replace it with a folded piece of electrical tape. Pinch the prong against the tape with pliers to secure the padding, and screw on the cap (mine aligned label side up).

Test it a few times, and once you’re satisfied that the fit is good, go celebrate the financial savings by turning your Blu-Ray access back on at Netflix.


