Tag Archives: missilecommand

MC restoration: the what not to do post.

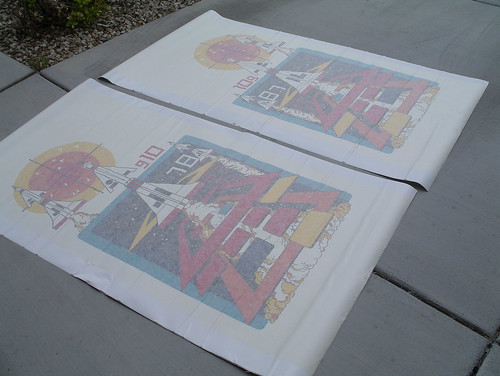
Okay, art time. The creases were especially fun to deal with, and — exacerbating the issues below — the arcadeshop sideart was thinner than the exceptional quality stuff that Phoenix Arcade puts out.
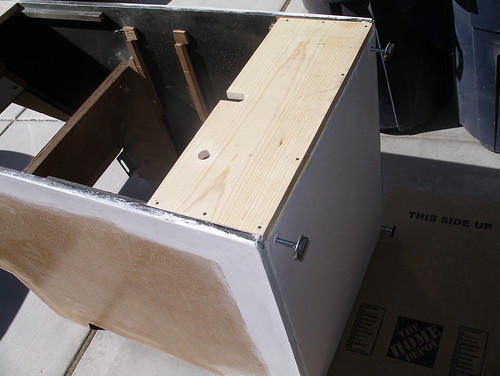
A little paint and some light sanding on mounting brackets and exposed bolts makes a world of difference.
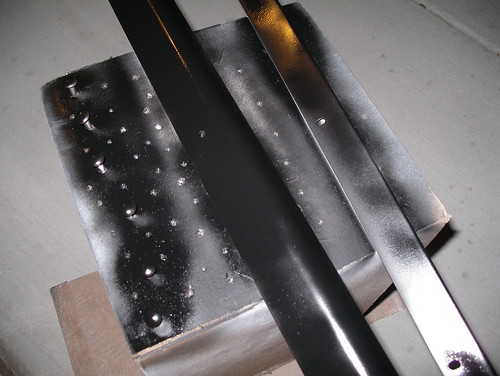
I mentioned this part in the last post, but here it is in more detail. As the original side art was applied bare and the surface (minus areas I patched) still appeared to be in good shape, I figured I could get away with applying the new side art the same way. Unfortunately, the process of laying and lifting the art pulled up tiny bits of particulate, marring the smooth surface. Here’s a closeup of the results in the sunlight:
blemishes

Hot tip! Never skimp on surface preparation. Seriously. Annoying lesson to learn after spending so much time cleaning up the rest of the cabinet. A couple coats of primer and a good sanding would’ve gone a long way.

Speaking of screw ups, I managed to stretch out the front of the control panel overlay as I was lifting it to remove an air pocket, resulting in some noticeable creases. I should’ve just used a pin. Sigh.

Overall, the cabinet does look a bit better now that everything has settled, especially when it’s not being hit with direct light.

Monitor, harness, coin door, and boards installed… it powers up (and makes the low wah wah wah sound), so that’s a start! Time to troubleshoot the guts.
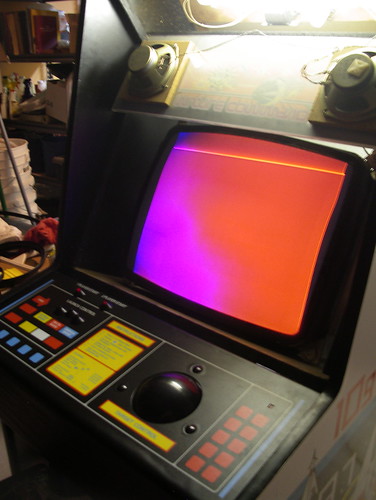
Missile Command restoration

Okay, time to get back into gear and finish up the Missile Command cabinet restoration. Last time I posted about it, I’d just rebuilt and polished the Trakball. Here’s what’s happened since then.

…

Unlike the TRON, the original Missile Command sideart peeled right off, albeit in many little pieces. I love how the artwork has baked into the cabinet — it looks neat, and helped with aligning the new art just right, too.

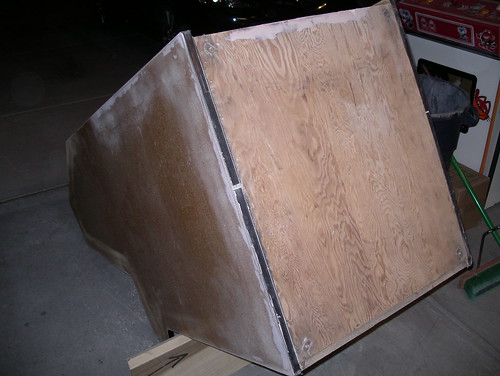
The cabinet was mostly solid, with the typical beat up edges and corners. A bit of bondo and a lot of sanding cleaned up most of the damage.

The original lower wood piece had been through hell, so I used it as a basic template and made a replacement.

Post paint and prep work. In hindsight, I really should’ve put more time into the sides of the cabinet. I figured that since the original side art was placed on bare wood, and since the wood was apparently in good shape, that I could get away with doing the same with the reproduction artwork. Unfortunately, every time I had to lift the side art during placement, it’d pull up miniscule bits of wood, marring the smooth surface. A proper coat of paint or two would’ve prevented that.

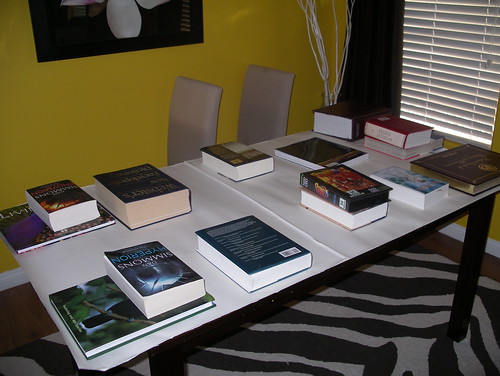
The Missile Command side art sat rolled up in a shipping box through spring, so, much to the annoyance of my wife, I flattened it out over a couple of weeks on the dining room table. Note the creases, they were especially fun to work out during application.

Polishing balls.

My latest project cabinet is a Missile Command upright, and my plan is to get it looking and working as close to new as I can. Step one: strip it down and get that big black ball rolling smoothly again.

The upright version of Missile Command was one of the few games (along with the first Atari sports releases) to use a massive four and a half inch Atari Trak-Ball. As these things take up a fair chunk of control panel real estate, most cabinets were designed with a smaller 2.25 or 3 inch trackball. Personally, I like the big ones.

PRO TIP: A 4.5 inch trackball is exactly the same size as a candlepin bowling ball, with similar construction. Feel free to swap out your beat up Trak-Ball for a candlepin ball with a skull embedded in it and save yourself a couple hours of polishing time.

PRO TIP: I didn’t even know candlepin bowling existed until last week.

Continue reading