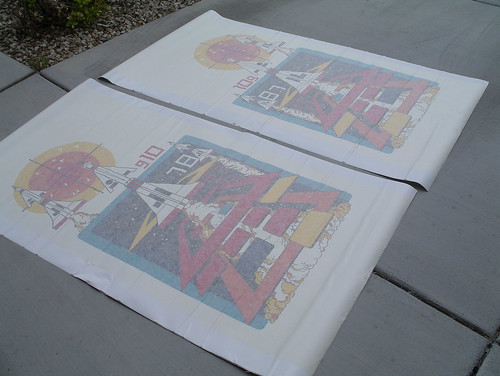
Okay, art time. The creases were especially fun to deal with, and — exacerbating the issues below — the arcadeshop sideart was thinner than the exceptional quality stuff that Phoenix Arcade puts out.
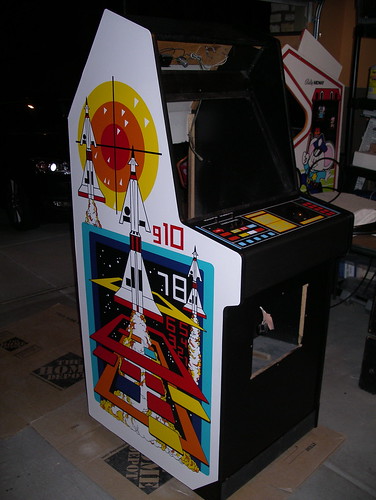
A little paint and some light sanding on mounting brackets and exposed bolts makes a world of difference.
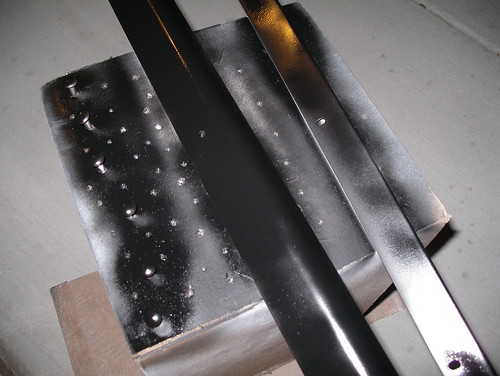
I mentioned this part in the last post, but here it is in more detail. As the original side art was applied bare and the surface (minus areas I patched) still appeared to be in good shape, I figured I could get away with applying the new side art the same way. Unfortunately, the process of laying and lifting the art pulled up tiny bits of particulate, marring the smooth surface. Here’s a closeup of the results in the sunlight:

Hot tip! Never skimp on surface preparation. Seriously. Annoying lesson to learn after spending so much time cleaning up the rest of the cabinet. A couple coats of primer and a good sanding would’ve gone a long way.
Speaking of screw ups, I managed to stretch out the front of the control panel overlay as I was lifting it to remove an air pocket, resulting in some noticeable creases. I should’ve just used a pin. Sigh.
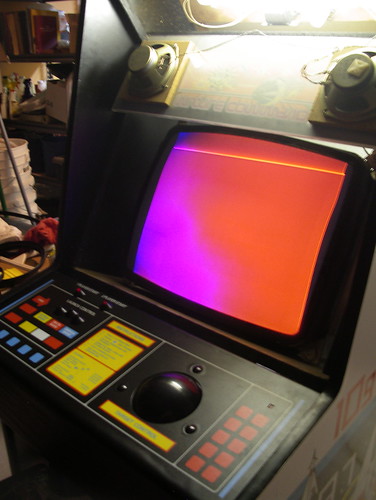
Overall, the cabinet does look a bit better now that everything has settled, especially when it’s not being hit with direct light.
Monitor, harness, coin door, and boards installed… it powers up (and makes the low wah wah wah sound), so that’s a start! Time to troubleshoot the guts.